|
|
You are here: Foswiki>Main Web>WikiUsers>HowToEasilyInstallLEDStrips (06 December 2023, HowToEasilyInstallLEDStrips)Edit Attach
How to Easily Install LED Strip Lights – A Step-by-Step Guide
LED strip lights are an excellent choice for adding a decorative touch to your home. With their simple yet stunning design, they can bring vibrant color to your living space and enhance the overall ambiance. In this guide, we’ll show you how to install, cut, and connect LED strip lights with ease. So let’s dive in!
Part 1: Installing LED Strip Lights
Step 1: Prepare the Surface
Before applying the strip lights, it’s crucial to clean and dry the surface where you plan to place them. This ensures proper adhesion and long-lasting installation. Make sure the surface is smooth and stable, avoiding any rough or textured areas that may cause bending or movement. >>> Read more: How to Easily Install LED Strip Lights – A Step-by-Step GuideStep 2: Unroll and Stick the Light Strip
Start by unrolling the best LED light strips from the spool to the desired length. Remove the adhesive backing and carefully stick the strip to the surface. Press down firmly on each section to ensure a secure attachment without any air bubbles. To reinforce the installation, you can use fixing clips. Peel off the adhesive tape and apply the clip over the strip light, securing it further by screwing it to the surface if needed. Note: Please check the LED strip lights on lepro.com to see if they come with fixing clips.Step 3: Connect and Illuminate
Once you have securely installed the strip lights, it’s time to connect them to the controller and power adapter. Plug the adapter into an electrical outlet, and using the remote control, remove the insulation sheet and press any color to change the lighting hue. Enjoy the mesmerizing glow of your newly installed LED strip lights! >>> Read more: How Long Do LED Strip Lights Actually Last?Part 2: Cutting LED Strip Lights
Each LED strip light has designated sections where it can be cut. It’s crucial to make clean, straight cuts only in these specific areas to avoid damaging the lights.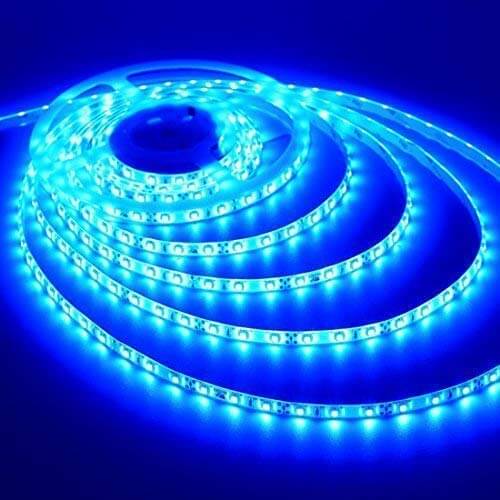
Part 3: Connecting LED Strip Light Sections
Did you know that you can create custom designs with your LED lights? Whether you want twists and turns, corners, or even non-flat surfaces, it’s possible with the right connectors and clips. To join two strip light sections, use a connector clip. Insert the open ends of each strip into the clip and close it to lock them in place. If you need to go around a corner, use a corner connector along with two connector clips. For uneven surfaces, connect a flexible strip connector between the strip lights to bridge the gap. Connect one end to the lights and the other to the rest of your lighting setup. Now you have the freedom to choose and change the color atmosphere according to your preferences. Don’t forget to remove the battery insulation sheet from your remote control before use. For rough surfaces, consider using mounting clips to keep the strip lights stable. In moisture-prone areas like bathrooms, waterproof strip lights are recommended. With these easy steps, you can effortlessly install, cut, and connect LED strip lights to transform your home into a vibrant and captivating space. Explore the LED strip lights category to discover more amazing options for illuminating your surroundings.UserForm edit
| FirstName | How to Easily |
| LastName | Install LED Strips |
| OrganisationName | |
| OrganisationURL | |
| Profession | |
| Country | |
| State | |
| Address | |
| Location | |
| Telephone | |
| VoIP | |
| InstantMessaging (IM) | |
| HomePage | |
| Comment |
Edit | Attach | Print version | History: r2 < r1 | Backlinks | View wiki text | Edit wiki text | More topic actions
Topic revision: r2 - 06 December 2023, HowToEasilyInstallLEDStrips


Ideas, requests, problems regarding Foswiki? Send feedback